
Week 01 : principles and practices & project management
the assignment for this week are:
principles and practices
- Plan and sketch a potential final project
project managment
- Work Through a GIT Tutorial
- Build a personal site in the class archive describing you and your final project.
For this week, we’ve got our first assignments to do; we have to build our own website to document the process of our work and to plan a potential final project; in other words, we have to think about what kind of project we’re going to work on for the next few weeks!
1-PROJECT MANAGMENT
A-How did I built my HTML site? |
HTML or Markdown
Despite the fact that we were told that it wasn’t that necessary to make a fancy website and were advised to make things as simple as possible using a very easy method to build our own websites with the help of the lightweighted markup language MARKDOWN. However, I was kinda familiar with the html programming (I used to design my own tumblr page) and this represented a challenge especially that I never made a personal website. I won’t lie and say that I wasn’t that edgy at the first couple of days but with the help of some sites like w3schools and my brain to figure how does the html work and to use it properly.
In general HTML stands for Hyper Text Markup Language which basically builds the structure of any site.
(e.g)
                <!DOCTYPE html>
                <html>
                <head>
                   <Title>A SIMPLE EXAMPLE<Title>
                   <link rel="stylesheet"href="styles>
                   </head>
                   <body>
                   <div class="outer">

                   <p>Lorem Ipsum lives here. </p>
                   </div>
                   </body>
                   </html>
Choosing a template or doing things from zero
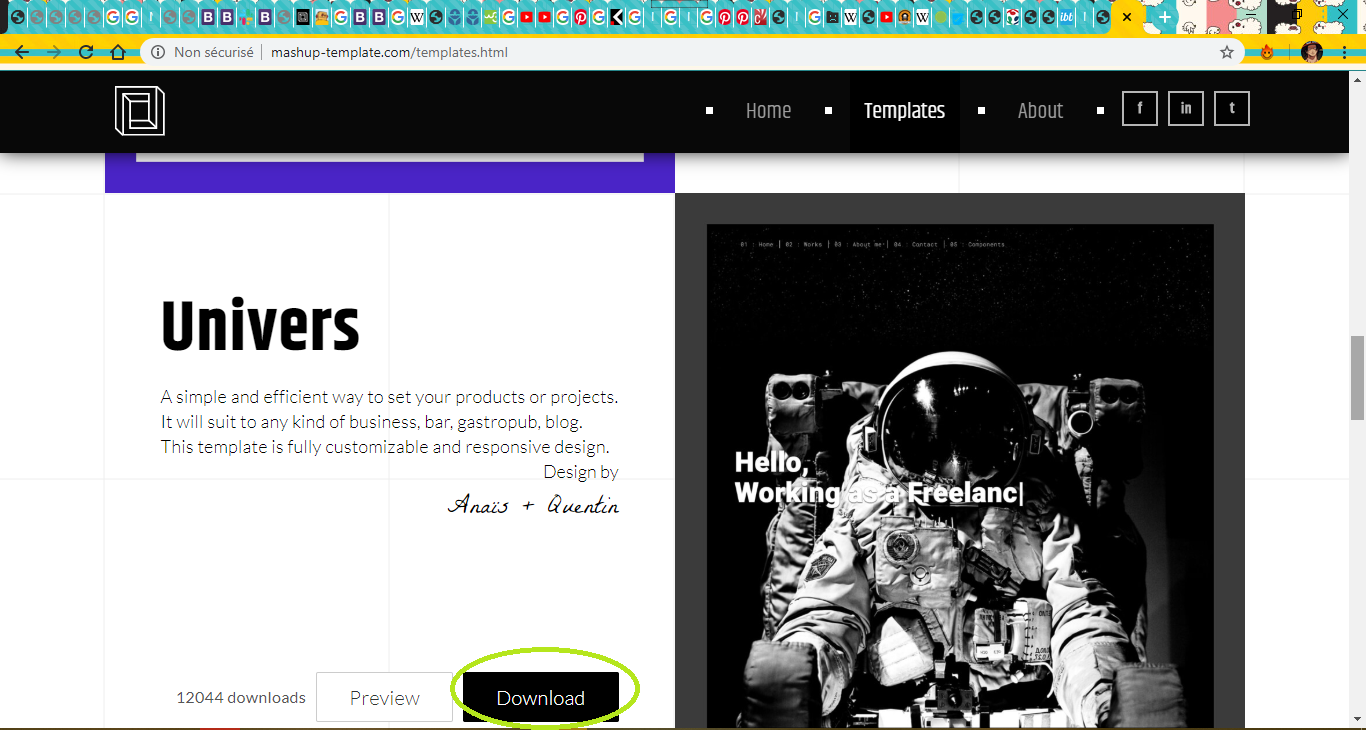
I didn’t really build everything from scratch, rather than that I downloaded a ready to go template from a website called MASHUP which was so helpful. But of course at first I was clueless about what I’m going to do next!I didn’t really build everything from scratch, since I wasn't really very knowledgeable about coding and etc.., so rather than that I downloaded a ready to go template from a website called MASHUP which was so helpful.
But of course at first I was kinda clueless about what I’m going to do next!
Html editor development tools
To develop my site and to edit it, I had to use a text editor to do the job.
For that I choose to work with Brackets which one of the easiest text editors to work with and it makes easy to design in the browser !!
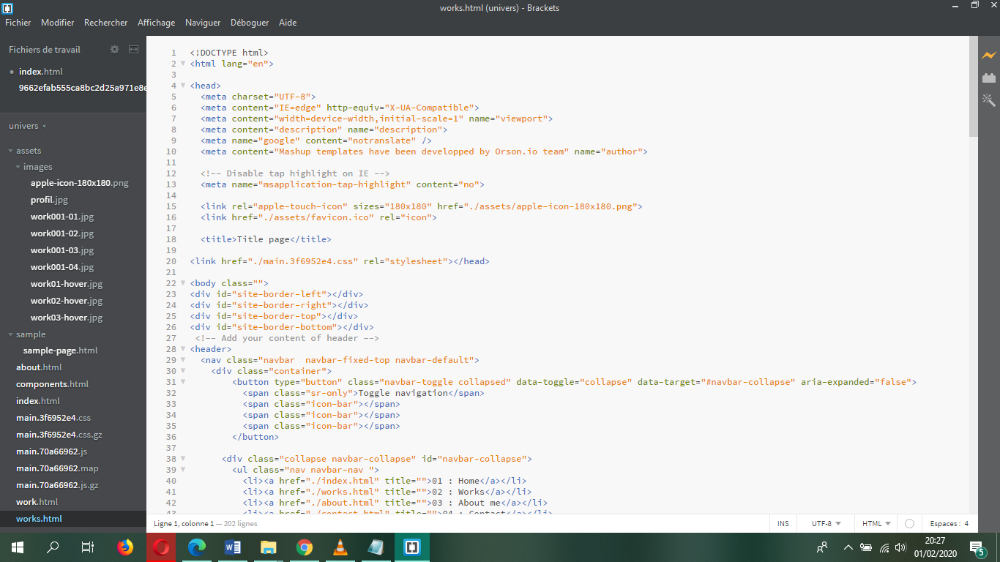
Well, as I said before, this is was my first time working with HTML, thus I made mistakes and I tried to learn from it of course
So this is what I did to make my Site FROM THIS
.png) TO THIS
TO THIS
.png)
Customizing my site
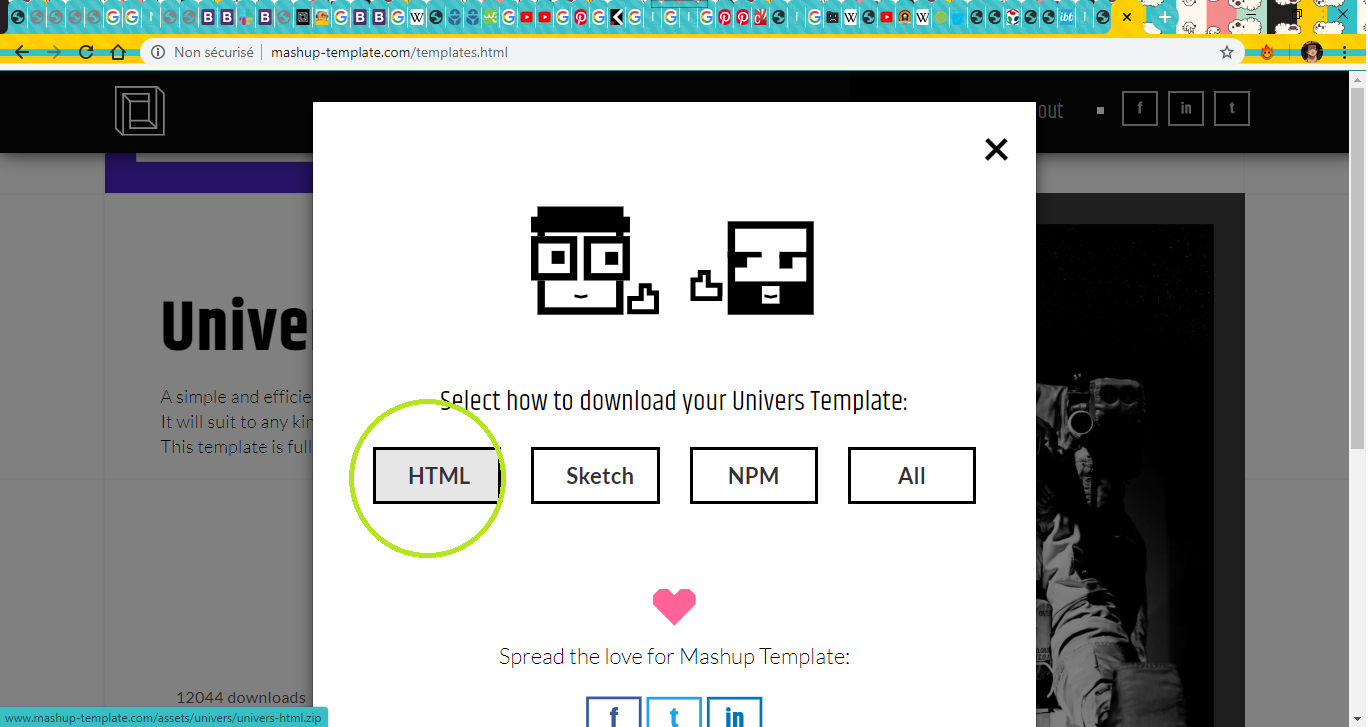
- DOWNLOAD THE TEMPLATE
- OPEN IT USING BRACKETS TO EDIT THE CONTENT
- WORKING ON THE MAIN PAGE
- HOW TO BUILD A HYPERLINK WITH AN ANCHOR TAG IN HTML? But first what is an Anchor Tag?
- SOME BASIC HTML LINGO THAT YOU NEED TO KNOW Texts
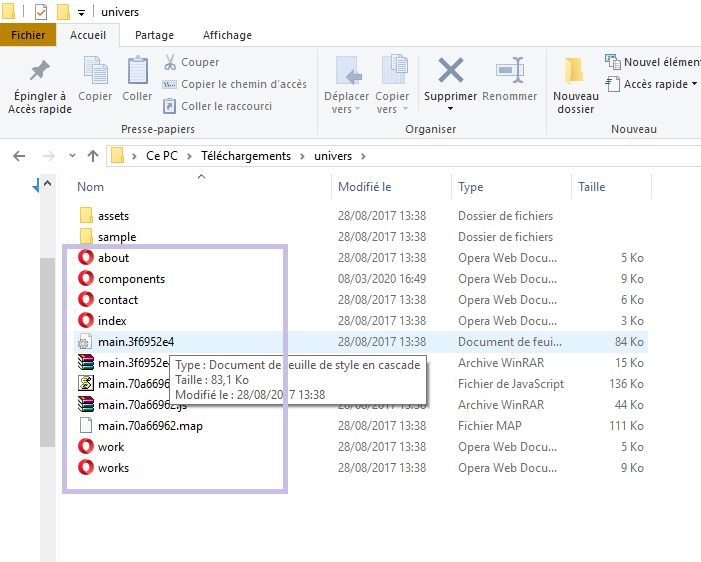
And now this is what I found in the file that I downloaded
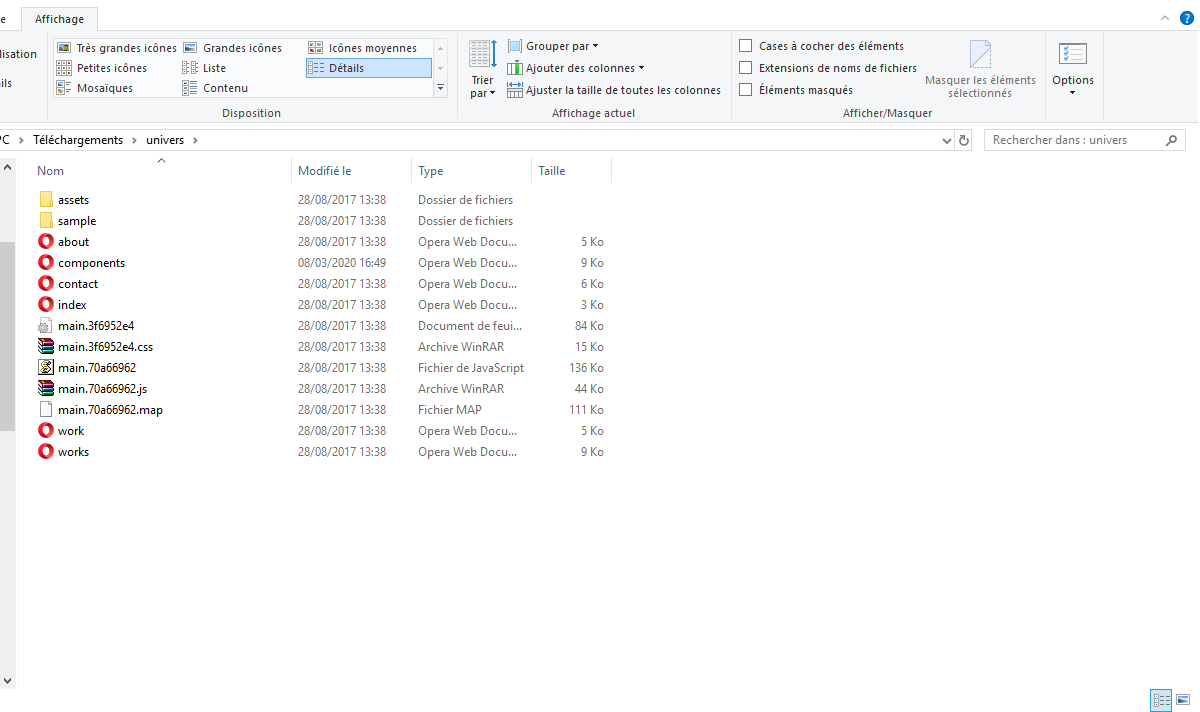
At first I wasn't so sure about how am I supposed to edit and to personalize it to make like what I want it to be
But principally it has the same idea as working with markdown
Ps: at first I was willing to work with MARKDOWN, but since I found it so limited. As for the html, I used to make the html of my TUMBLR page, so I wasn't really that 100% unfamiliar with it "^^
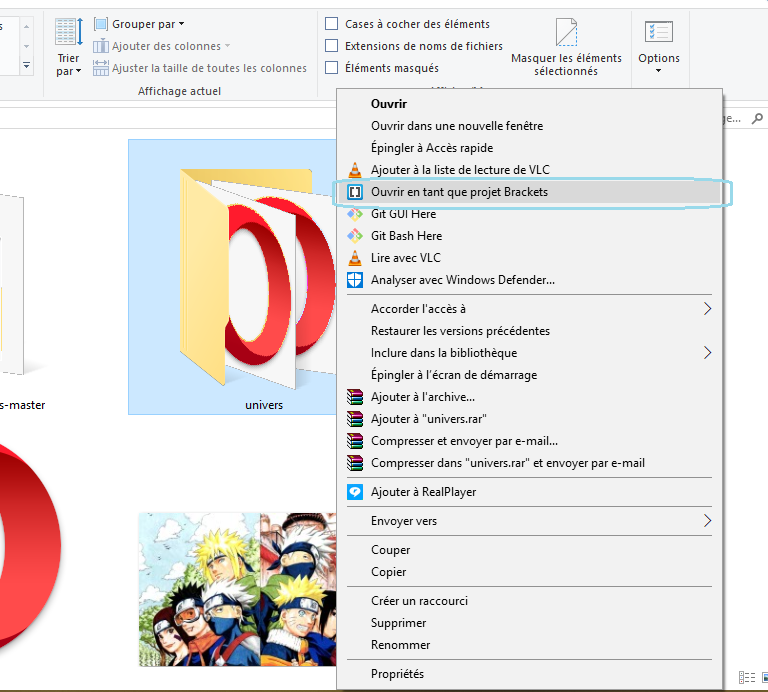
Right click on the file>Open as a bracket peroject
Prepare you working place as a html file and the click on the lightning symbole to visualise the changement

CUSTOMIZING THE NAV PANEL
The nav panel is on the sidebar.
As I opened the index file, I noticed that those has the same names, So I tried to change them and see if my theory is right
And I found out that
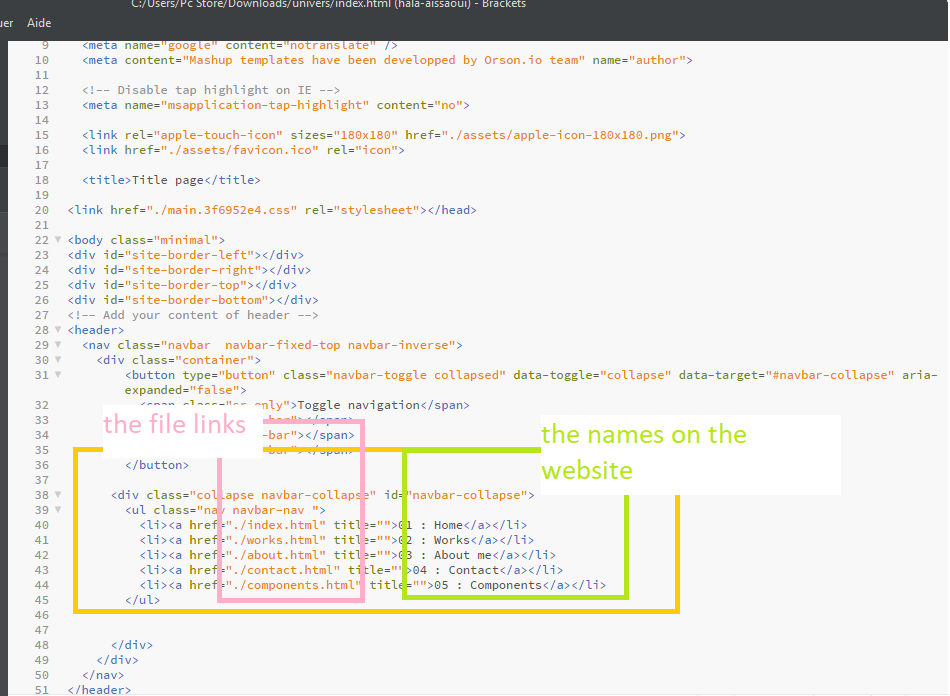
Those are the titels
So this must be the html files for each page that I need to edit.
So, I started to work under this principle
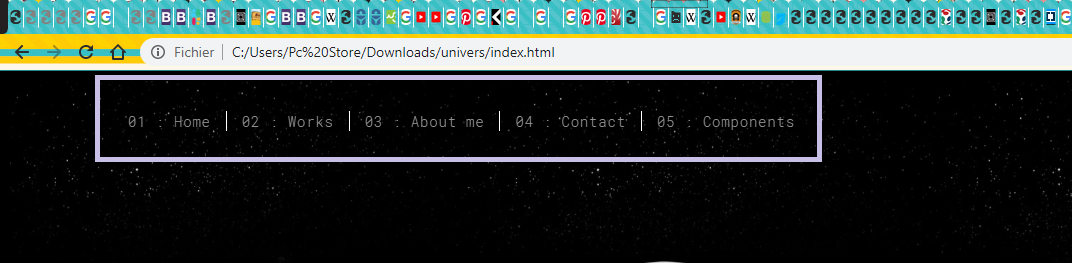
DONE
This is how my home page looks like now.
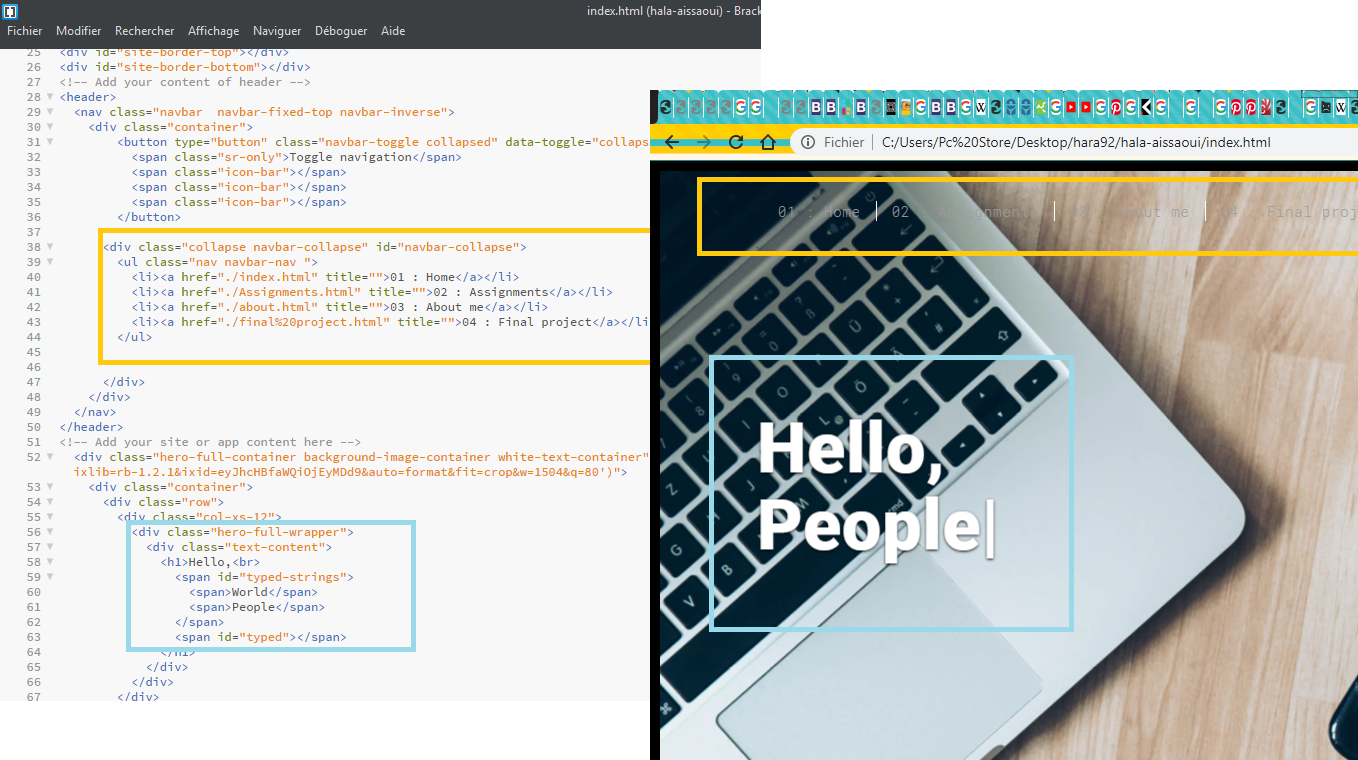
I decided that this going to be my main page for the assignment titels,
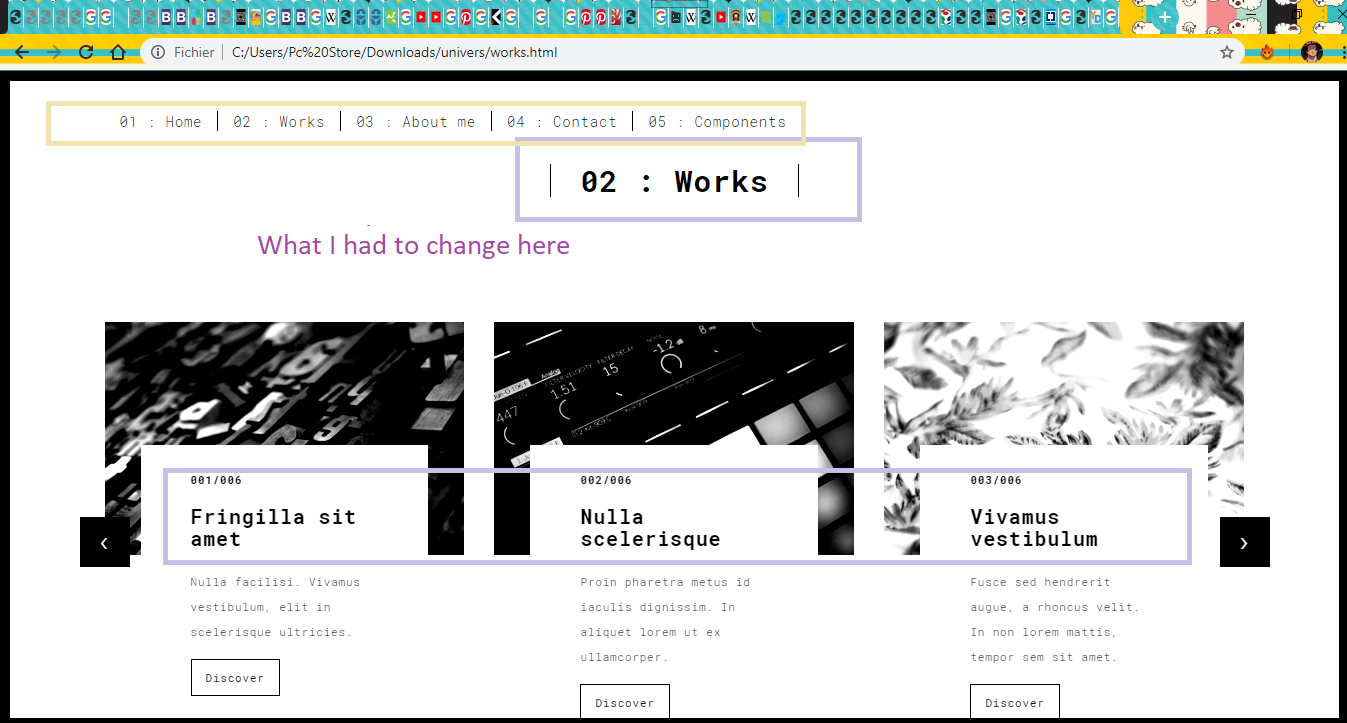
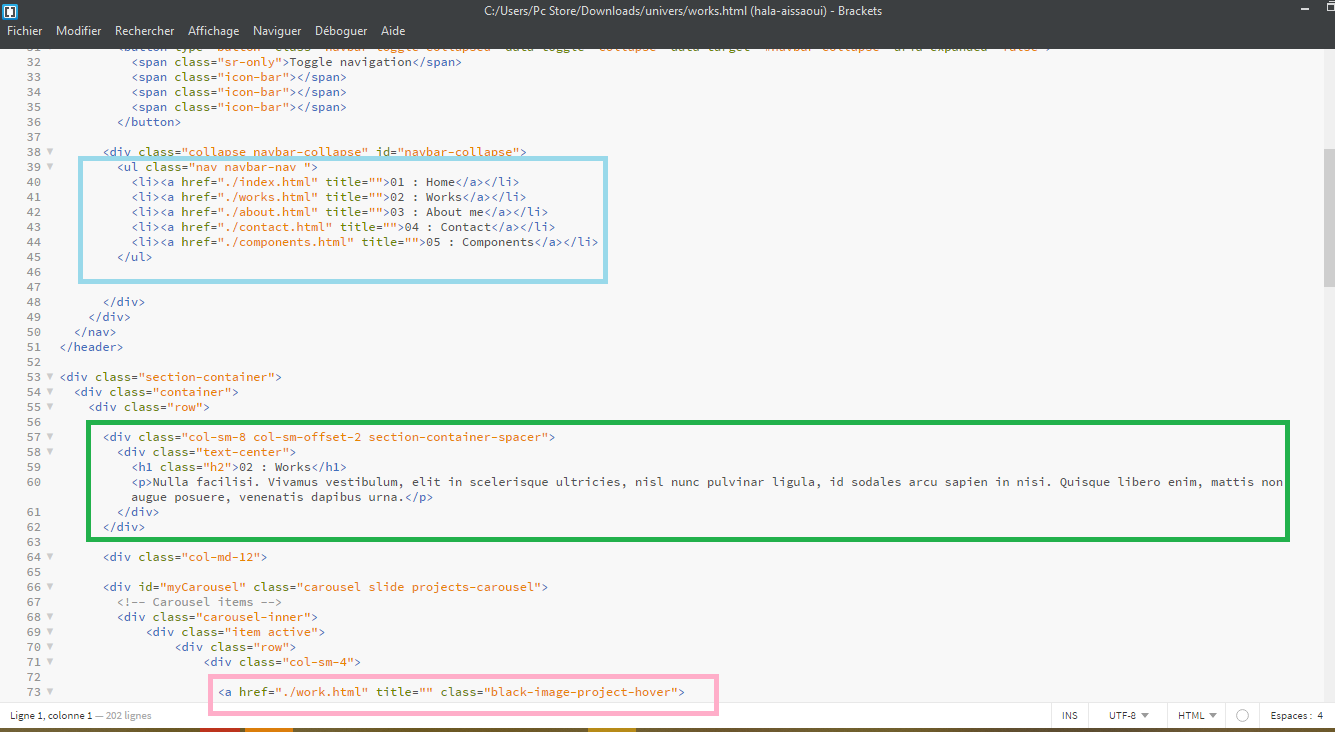
I created 6 html files(at first) for each week and linked them on the Assignment page of my website in their respective directories with an anchor tag.
An anchor tag is an HTML tag. It is used to define the beginning and end of a hypertext link. Search engines use the tag to determine the subject matter of the destination URL. Users click on the anchor text to reach the link target.
sourceSo basically it works like this
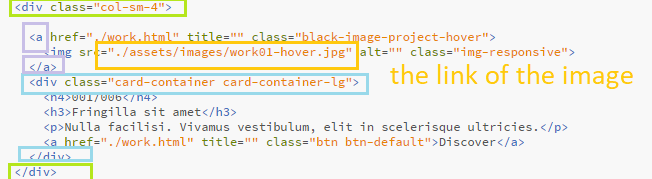
This is an anchor tag.
<a href=" here is link(web page or a html file)" > what you want to appear </a>
To open something in a new tab, just add a target=_"blank" to the anchor tag, like this;
<a href=" here is link(web page or a html file)" target="_blank" > what you want to appear </a>
In HTML there's <h1> to <h6> Tags
                                <h1>h1 titel <h1>

                                <h2>h2 titel <h2>

                                <h3>h3 titel <h3>

                                <h4>h4 titel <h4>

                                <h5>h5 titel <h5>

                                <h6>titel <h6>
In HTML there's <h1> to <h6> Tags
h1 titel
h2 titel
h3 titel
h4 titel
h5 titel
h6 titel
Images
                                    <span class="image">
 <img src="assets/images/GitHub-Mark.png" width="50%">
</span>
And this is how it looks like.

B-GIT Setup |
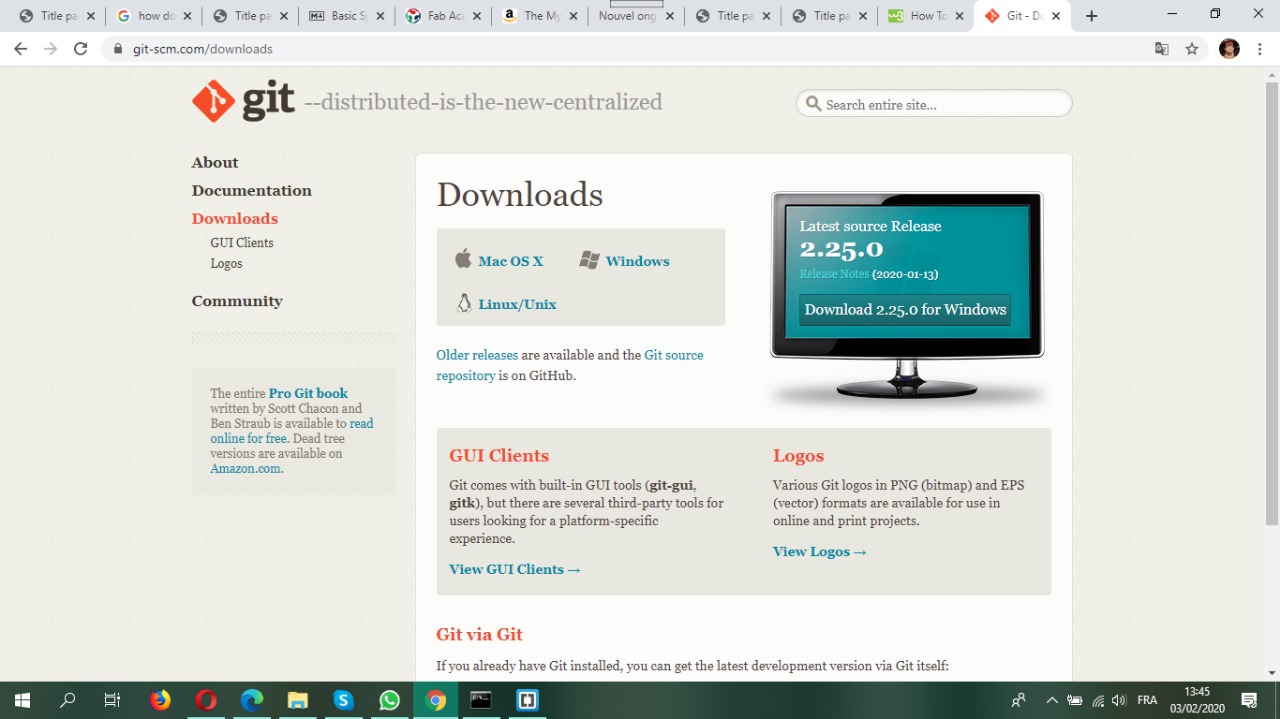
I never used GITHUB before, therefore this was so challenging at first but with the instructions of our instructor, it was easy to go through the whole process. First of all we had to download the GITBASH from the internet;
o Configure username: git config --global Jane Doe "Your username"
o Configure email: git config --global Jane.Doe@email.com "Your email"
o Generate SSH Key: ssh-keygen -t rsa -C "Your email"
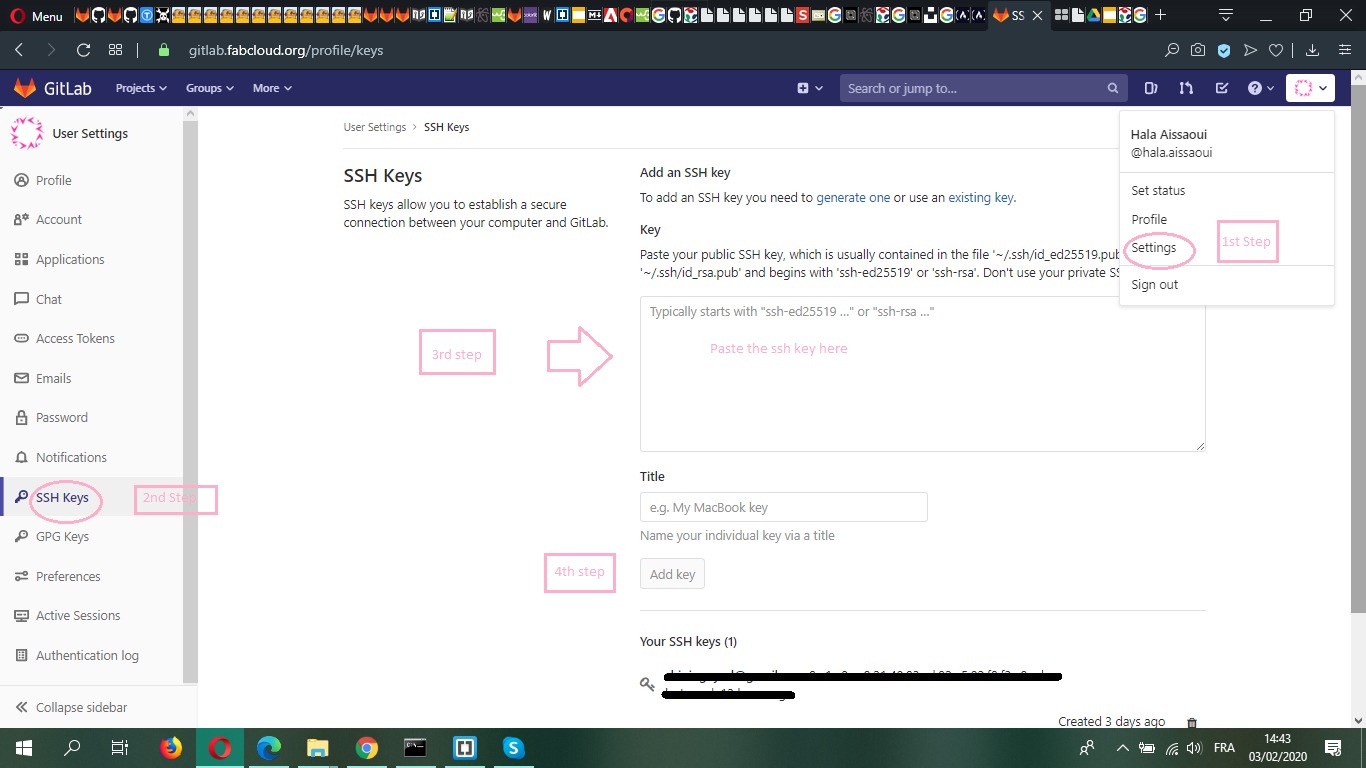
o Copy the ssh key shown by the command: cat ~/.ssh/id_rsa.pub
o Paste the generated ssh key to your gitlab profile
PS: I generated the SSH key without making any screenshots of those steps "^^
as for the last step is uploading my webpage into the surver.but seriously while doing that I got alot of problems

but as I remembered that the template that I was working on are not in the file that I was supposed to upload , so I put all of my project parts into that file and deleted what I didn't need "the doc file";

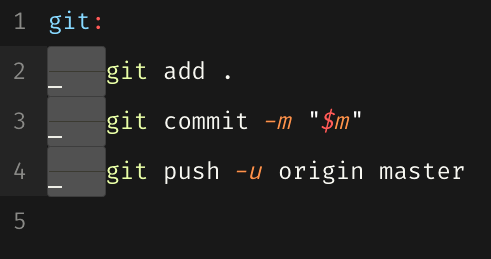
this is how I did it;


2-PRINCIPLE AND PRACTICES
As for the second part of the assignments of this week we had to plan for a project.
WHAT?
I want to make a MULTI TASK CLOCK with a CARBON MONOXIDE Detector, in other words, a wall clock that can detect the CO of stoves, heating stoves,etc.. and shows time with laser
WHY?
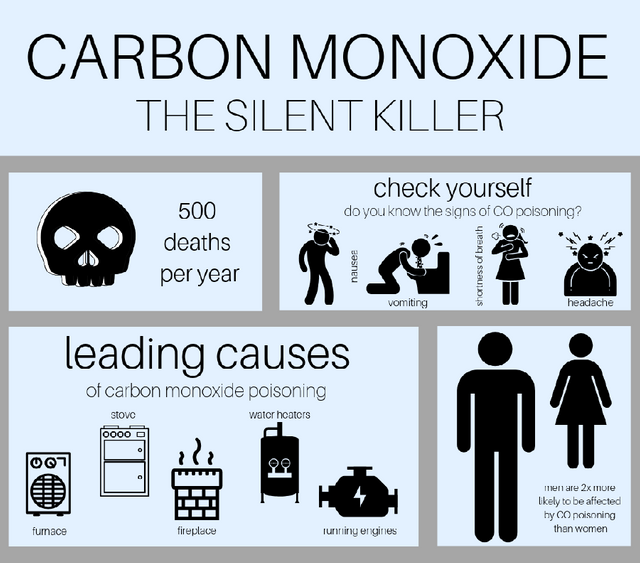
As winter comes, the use of the butane gas and fuel heating stoves or even the traditional braziers increases in Tunisia and with it the risk of CARBON MONOXIDE toxicity increases too, especially that in many cases such accidents were fatal. The risk of such poisoning is due to the fact that with burning fuel or burning charcoal in poorly ventilated or enclosed spaces, the CO may build up to dangerous levels and contaminate the air. Breathing in the contaminated air causes the body to replace the oxygen in red blood cells with carbon monoxide and that causes the poisoning.
So most of the people ain't so familiar with such devices that can be a lifesaving thing
HOW?
Initial SketchFor this part of the assignment I made a simple SKETCH that can describe what I have in my mind
.jpg)
.jpg)